We LOVE our cycling! It’s a fabulous cardio workout that gets the endorphins flowing, burns fat and leaves us with that incomparable feeling of having just conquered a mountain! But… because cycling asks the body to move in such a specific way, we wind up working the same muscles over and over in class.
Yoga for cyclists and spin class lovers
So by adding a few yoga postures to your routine, you’ll:
1. Activate muscle groups that aren’t targeted in cycling class, ensuring a total-body workout
2. Build strength in certain key areas that will support your performance on the bike
3. Stretch and restore muscles and joints that get tight
Plank & Side Plank for Core & Arm Strength
With all the rounding forward we do in spin class, we need to build core strength to properly support the spine from the front body, instead of just collapsing or hunching. Besides being a great asana to build the muscles of the abdomen, plank also works the arms and shoulders, which aren’t as emphasized in cycling but are key to maintaining proper alignment on the bike. Remember to create a long, strong line from your crown to your heels, stretch the heart forward and don’t let the hips sag.
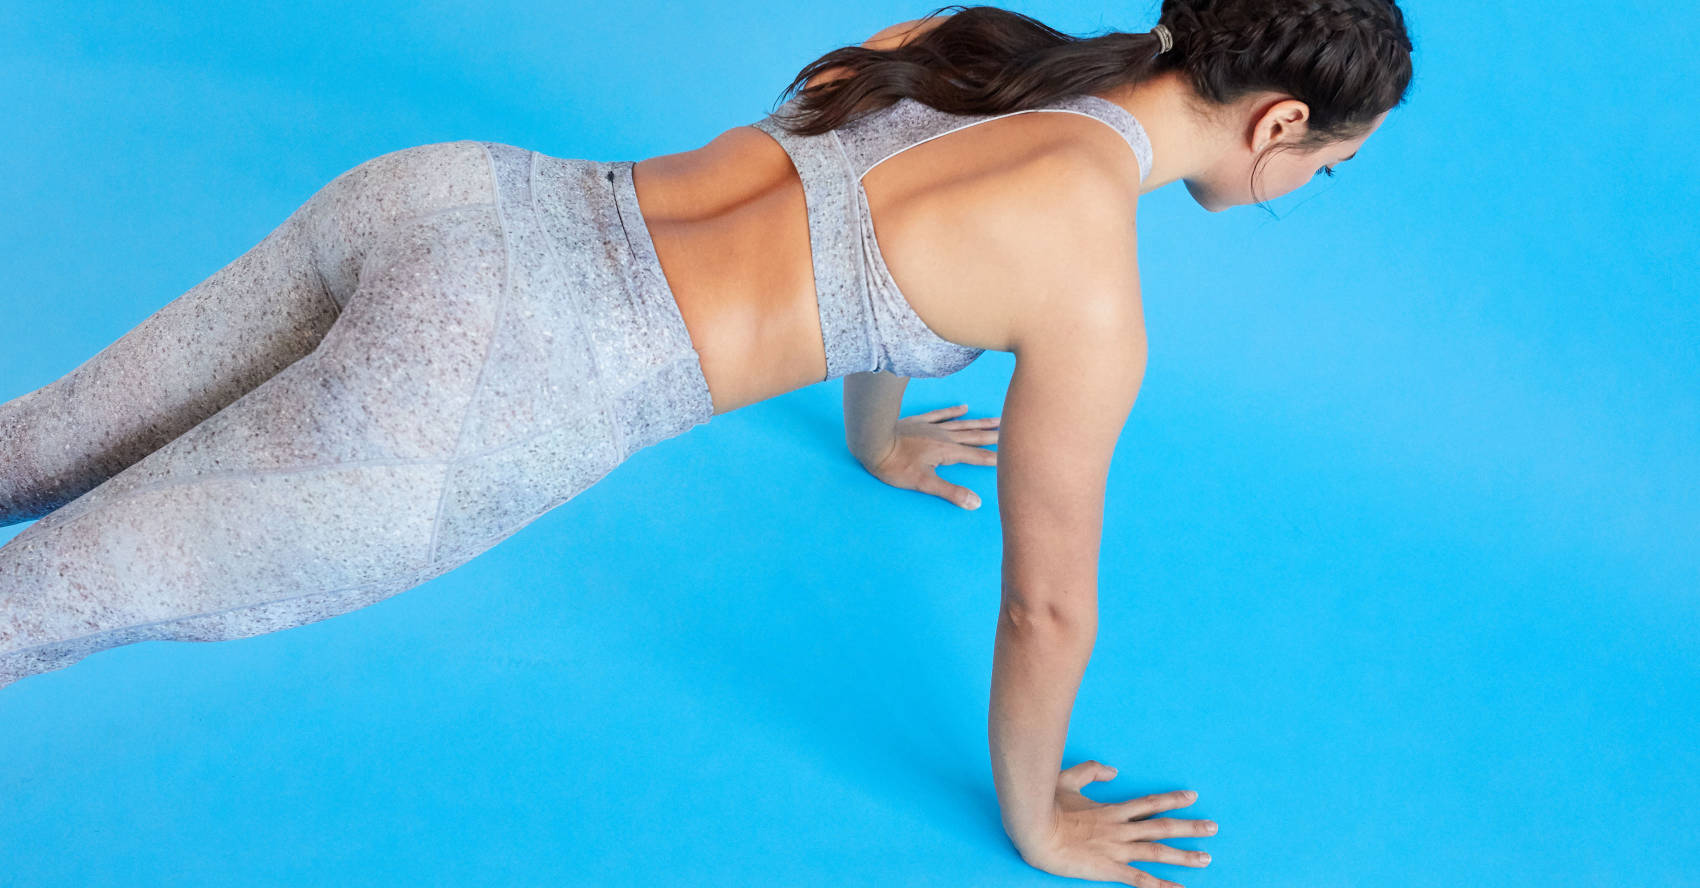
- Try holding plank for 30 seconds (or five deep, slow) breaths. Repeat three times with a 30-second break in between.
- Add side planks to target the obliques and side body and bump up the arm strength! Hold each side for 30 seconds, rest and repeat up to 3 times.
Anjaneyasana (Low Lunge) or Lizard Pose to Lengthen Quads & Spine
A nice, sweet low-lunge with the back knee on the floor and the upper body gently arched up and back is basically the exact counter pose to spinning. This pose stretches our intensely-worked quads and hip flexors as well as lengthens the spine in a gentle, elongated crescent. Begin by simply placing your hands on the front, bent knee. From there reach up with the arms and begin to gently lengthen the torso up and open, creating an extension from your pubic bone to your crown. Think “front extension” rather than “backbend,” lifting the heart towards the sky.
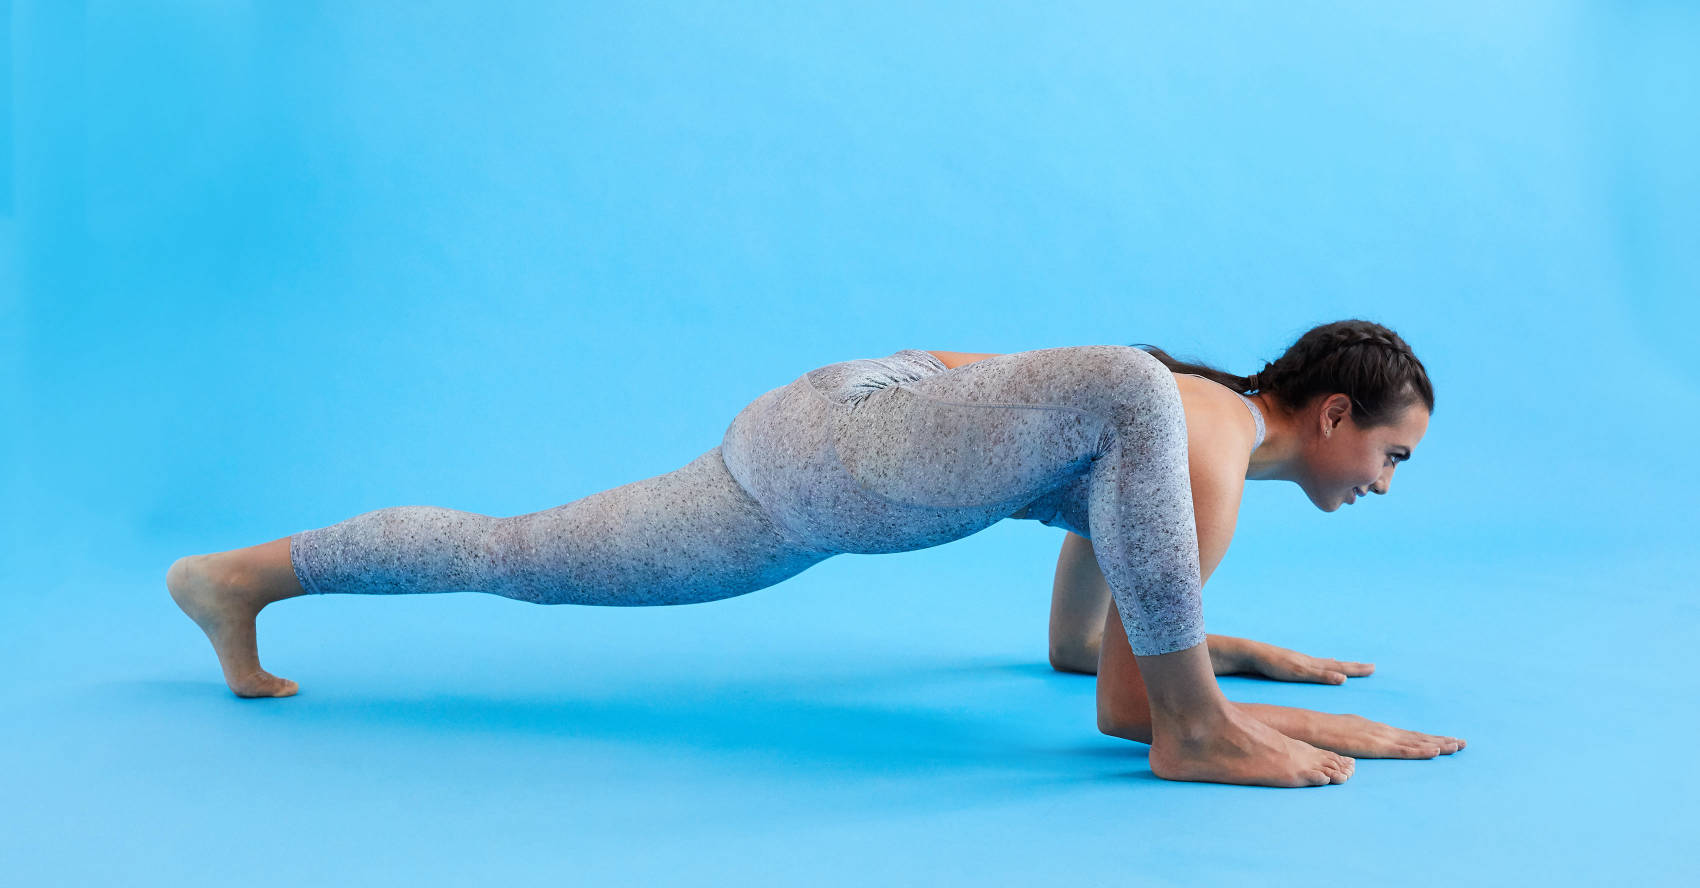
- Try placing a blanket beneath the back knee for cushioning, and ensure that you’re rolled forward of the kneecap. Hold each side for 30 seconds and repeat.
- If you’d like to take it down a notch and keep the emphasis on stretching the quad and hip flexors, rather than also stretching the spine, try Lizard pose. Instead of extending up and back, plant the hands on the floor inside your front foot and simply breath, relaxing your weight into the extended hip…. If that feels comfortable and you’d like to #GoDeep, take the forearms to the floor, a pillow or some blocks. In this variation hold for 30 seconds… or 1 minute… or more!
Pigeon Pose (Kapotasana) to Stretch Tight Hips
The repetitive motion in cycling can lead to super-tight hips since our leg movement is confined to a single-paned rotation rather than utilizing the full range of motion of our hip socket. As the large, powerful muscles of our legs get used to this one plane, they become set in their ways, creating tightness all around the hip socket, the SI joint, the sciatic nerve and into the lower back. It’s vitally important to stretch out the hips and glutes, not just so that we feel better, but to avoid strain and possible back injury.
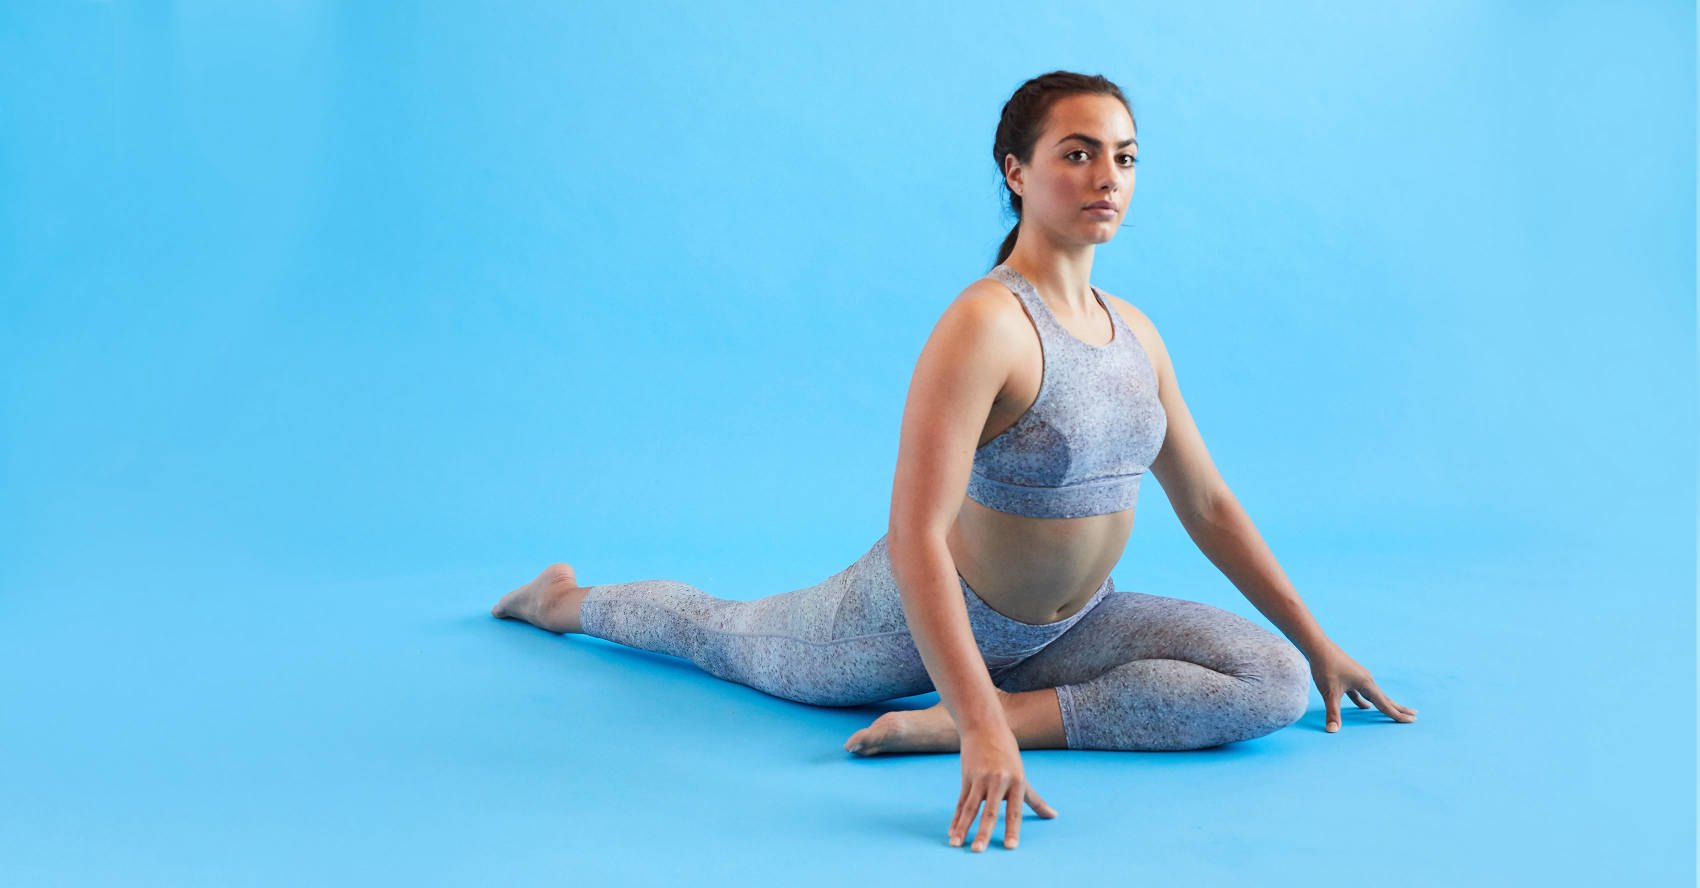
- Try taking Pigeon pose (either with or without the use of blanket or pillows under the hip for support) and really settle in. Try holding the pose (and breathing!) for between 1-5 minutes on each side.
Supported Cobbler’s Pose (Supta Baddha Konsasana) to Open Hips & Open Heart
Finish this simple sequence with a nice, juicy restorative yoga posture that will gently open the hips and stretch the spine and core. Let props and gravity do the work! In either variation, make any little adjustments so that you feel fully supported and comfortable.
Settle in for 3-7 minutes – the longer you stay, the deeper the benefit.Place a bolster lengthwise on your mat. Lay so that your shoulder blades are fully supported, your heart is open up towards the ceiling, and your head can rest on the bolster.
If you prefer to use blocks, place one block under the shoulder blades (middle height) and a second under your head (middle or tallest height) supporting the occipital ridge.
