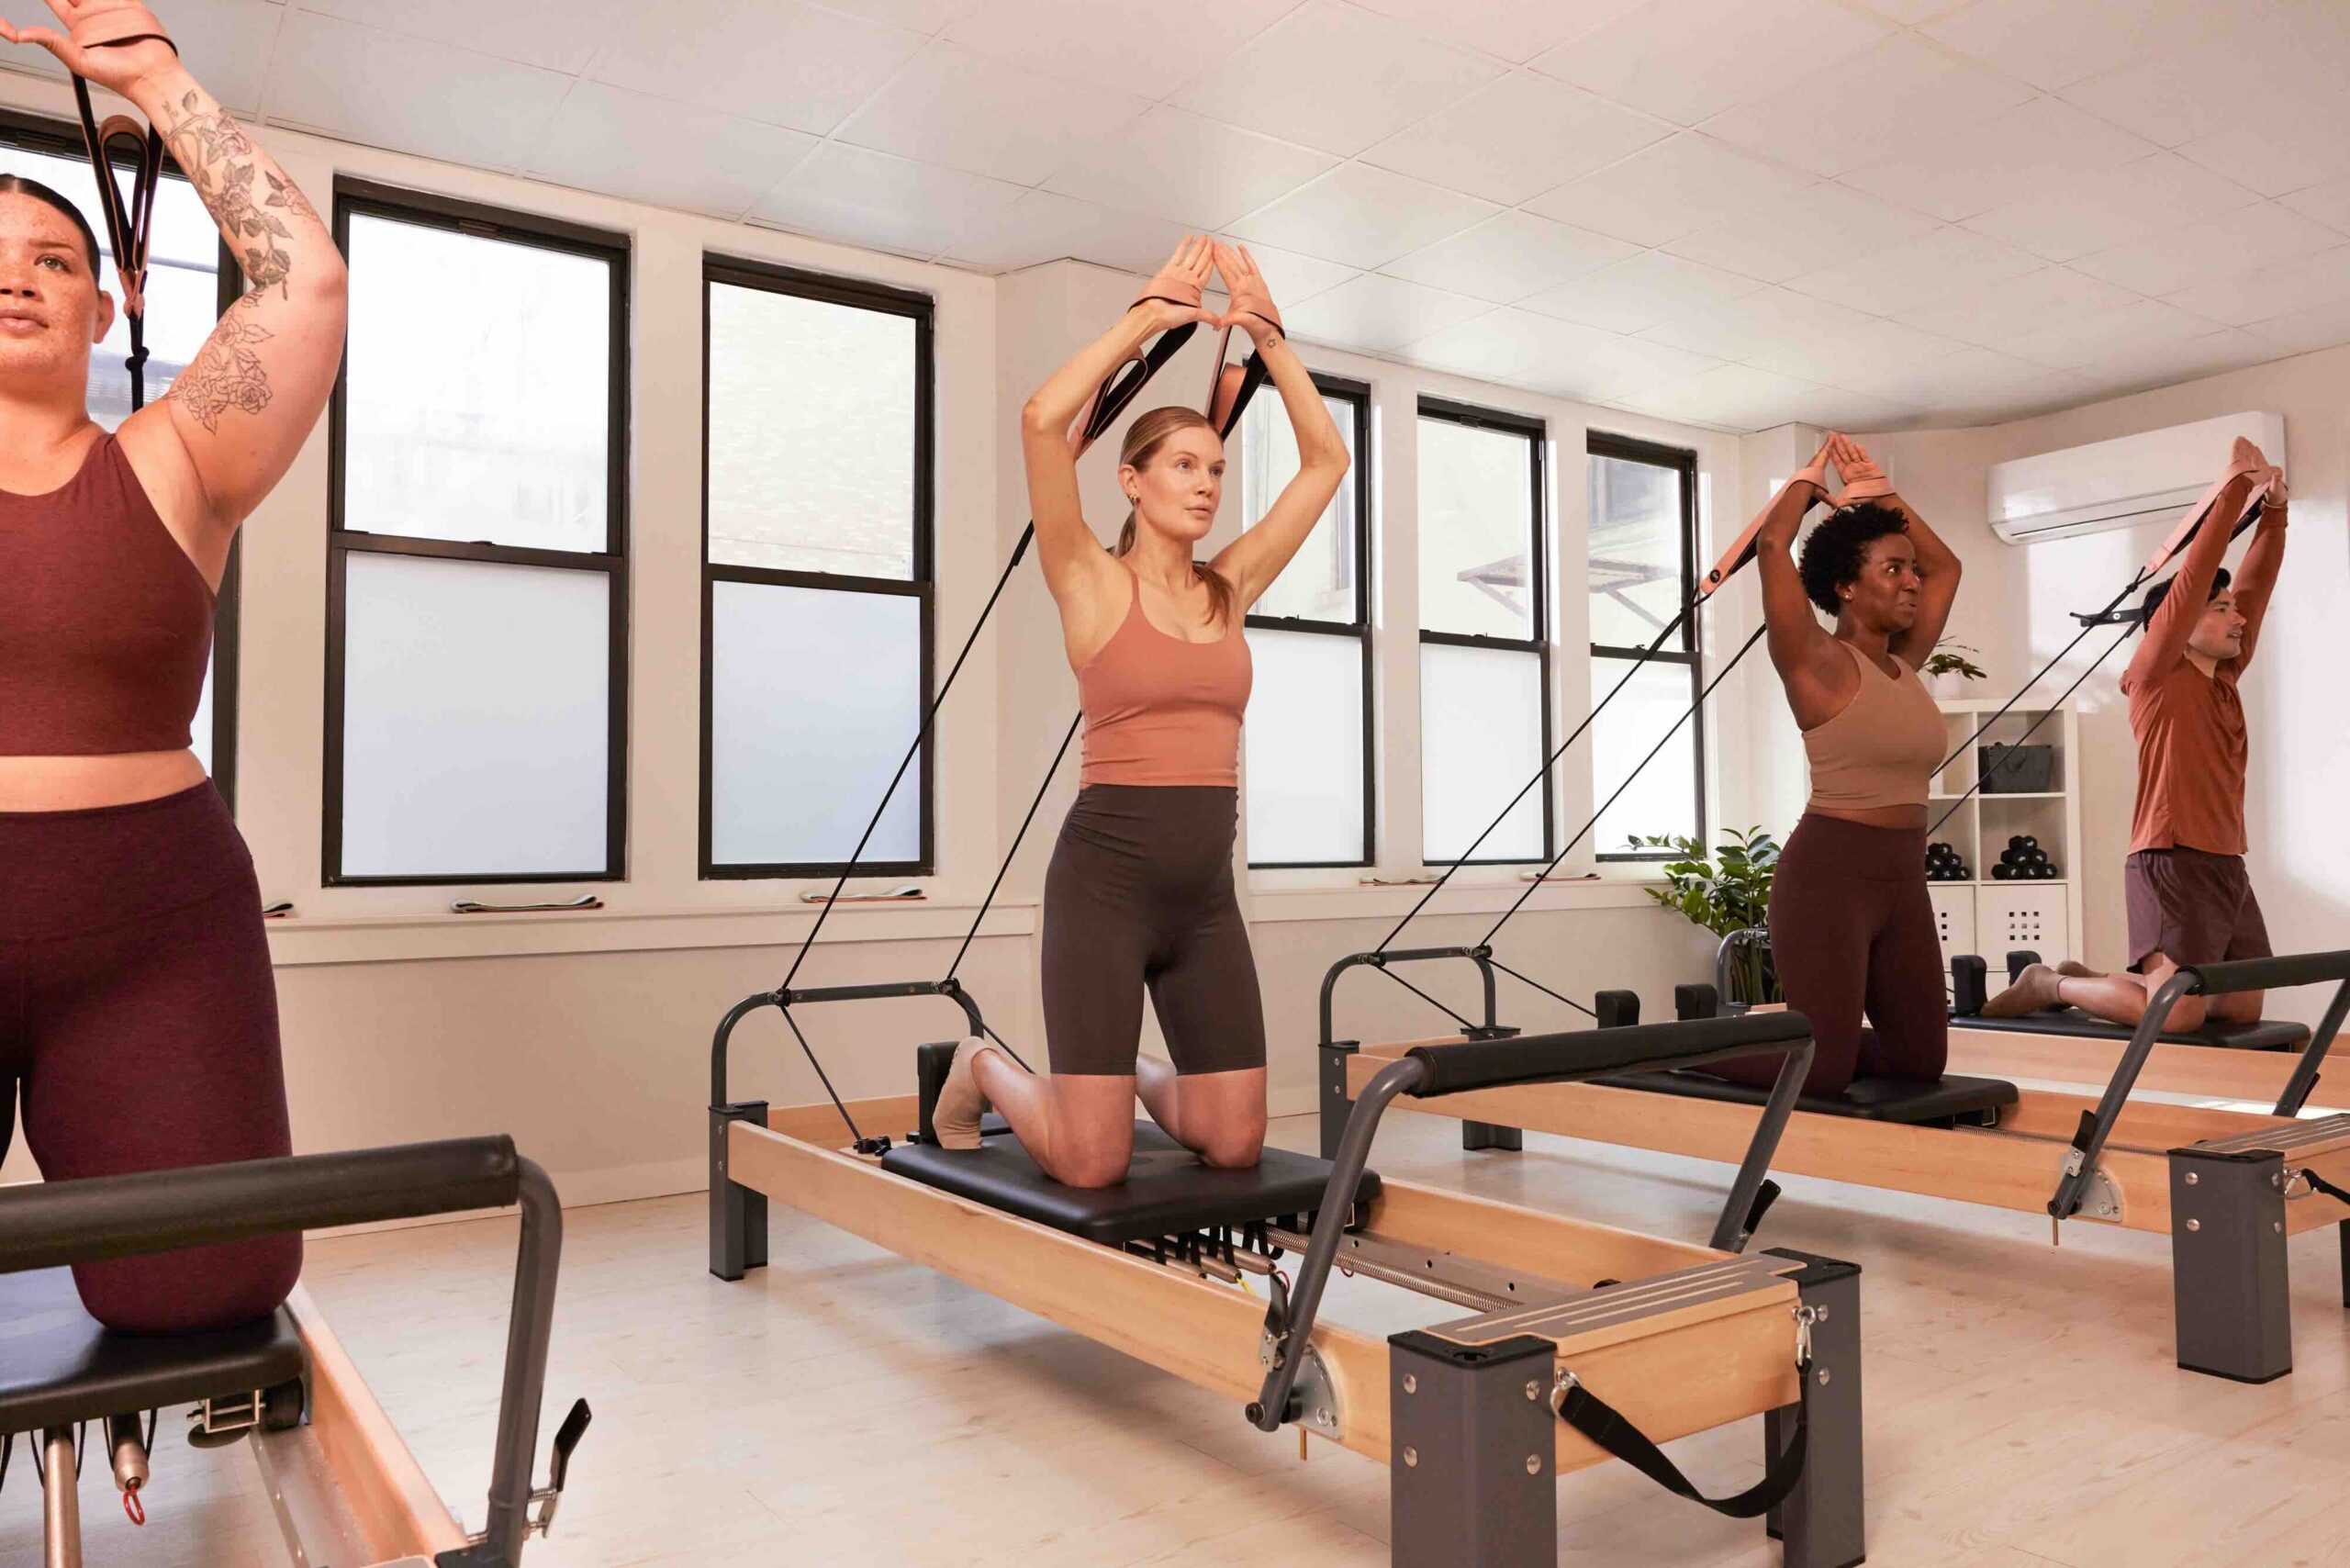
We connected with Diana Oppenheim, a registered yoga instructor at Yoga Tree in San Francisco, to get the low down on what we should expect to feel in some of the most commonly taught yoga poses when we’re aligning, engaging and releasing correctly.
Are You Doing Those Yoga Poses Correctly? Here’s Where You Should Feel It
“As a yoga teacher, I’m often asked by students if they’re doing a pose ‘right’ or if they are feeling the pose in the ‘right” place,'” Diana told us. “Everyone has different bone structures, different histories, injuries and patterns of use that play into where they might feel a pose and how their pose may look on the outside.” That being said, there are some key things to strive for in the following poses, and Diana provided us with some key physical sensations to stay attuned to.
Mountain Pose
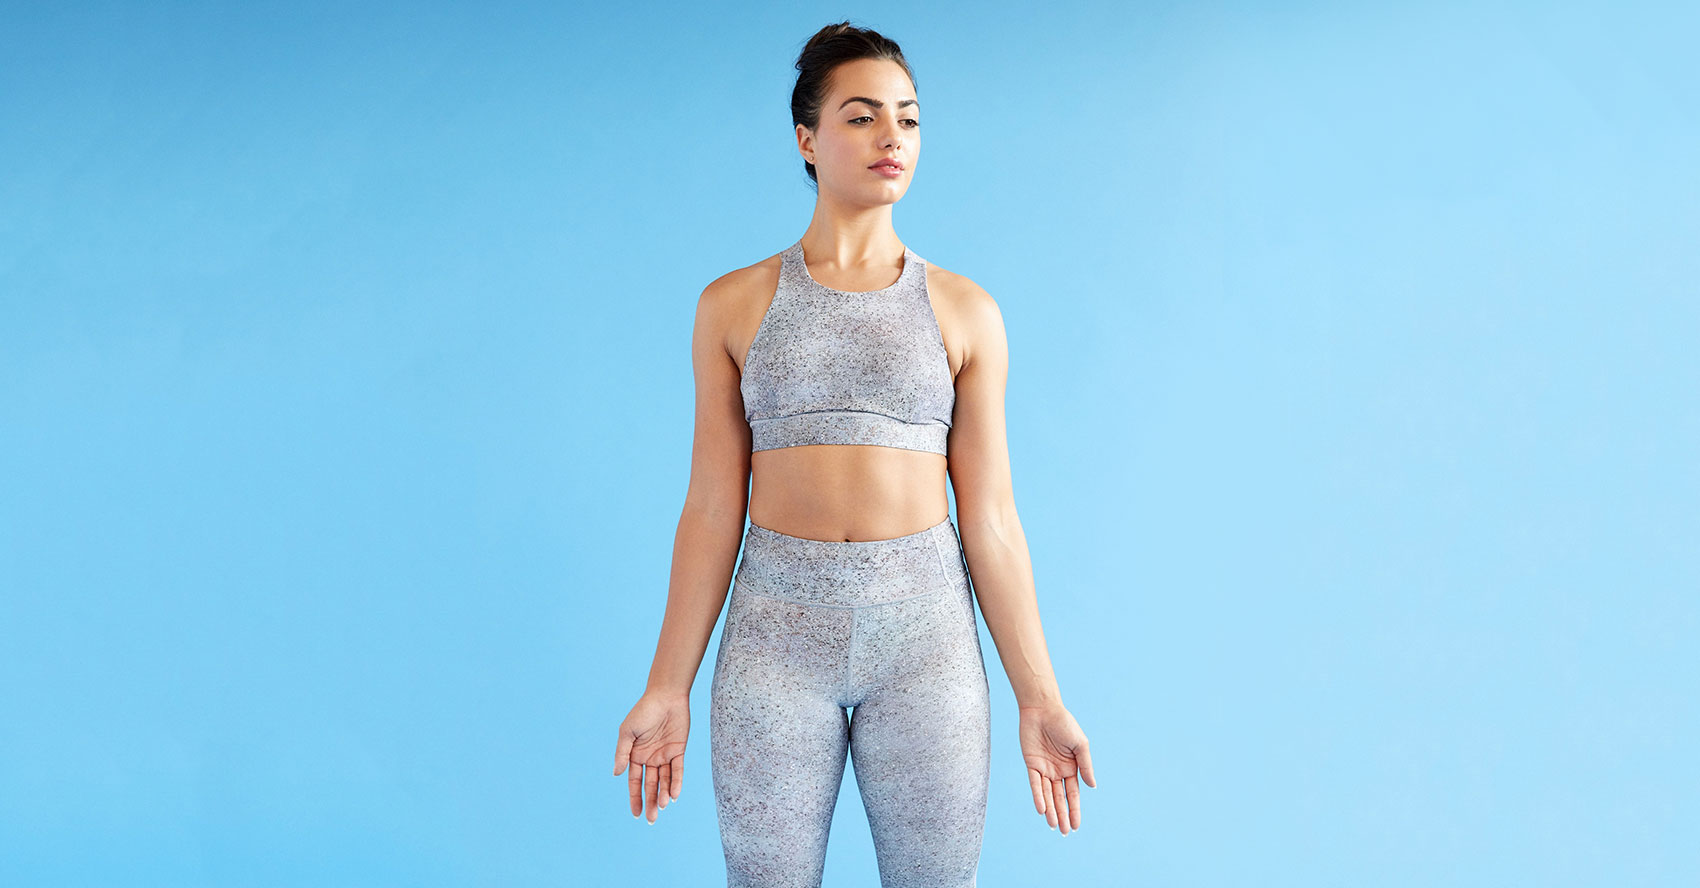
Where you should feel it: Everywhere and nowhere! Tadasana, or Mountain Pose, is the most neutral pose in yoga, and the one on which everything else is based. To be entirely neutral in Tadasana, your whole body should be passively engaged. That’s to say: turned on but not working too hard; active, but not forced.
Your stance: Being with your feet pointing forward and parallel, about hips’ distance apart or together. Knees should also be pointing forward. Notice if you turn your feet in or out. Notice if you have one foot forward. Notice if you have high arches or flat feet – this all matters!
Your lower body: Make sure they are fully forward and they are level with one another. Notice if one hip is pulled forward or higher. Your pelvis is neutral. Notice if you are tilting your hips forward or backward.
Your core: Your deep core muscles are engaged: the lowest part of the belly is pulled back towards the spine. Your ribcage is neutral. This means the front ribs are not jutting forward or hunched over. Both sides of your waist are equal and you are not turned or twisted at all.
Your upper body: Your arms are resting back on the shoulder girdle. Your shoulder blades are on the back of your ribs. Your head is placed directly over your shoulders and so the neck is long and even on both sides.
Downward Facing Dog
Where you should feel it: Upper body, lower body, core.
Your stance: Arms long, hands and feet on the floor, about two-thirds of your height in distance apart, hips to the sky, neck long. Your knees may be straightened or bent, depending on your flexibility. When doing this pose correctly, you should feel a similar alignment to Tadasana, except your arms are overhead, bearing weight, and your hips are at a 45-degree angle, not perpendicular to the floor. Your spine, as in Tadasana, should form a neutral straight line from tailbone to the crown of your head.
Your lower body: You should feel your hamstrings and calves lengthening, and your upper inner thighs rotating inwards to keep hips aligned: one hip shouldn’t be poking up higher than the other.
Your core: Your lower core is pulled into your spine, your tailbone is tucked under and your obliques should be equally long on both sides of your body. Try to keep the spine neutral. Very flexible bodies can easily go beyond neutral into an anterior tilt of the pelvis resulting in spinal extension: you’ll know you’re overextending if you feel your core isn’t engaged and your back doesn’t feel as supported.
Your upper body: Shoulders should feel squared to the ground, not tipped more in one direction than the other, and shoulder blades should retract down the back, which should feel like a stretch for the upper back. To properly engage the arms and upper back, Diana says, “Spread your fingers wide and push into the “L’s” of your hand”. This will help you to rotate your upper inner arms outwards and turns on the biceps, triceps and forearms.
Warrior 1
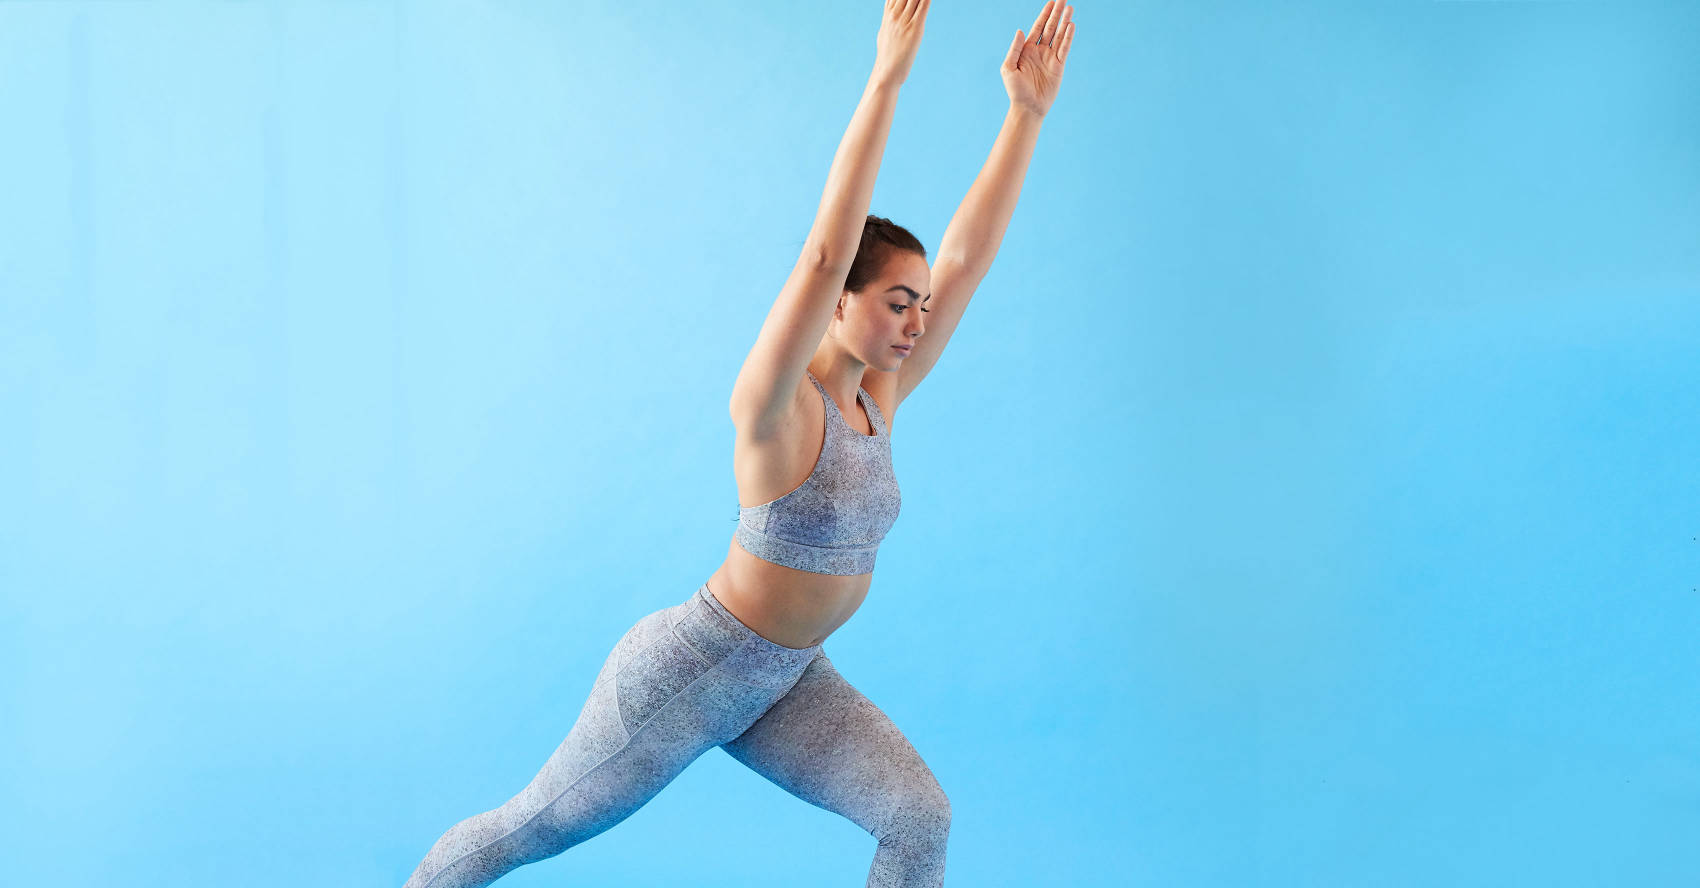
Where you should feel it: lower body and core, primarily.
Your stance: Step one foot out from the other roughly 2 to 3 feet. Bend the front knee into a lunge and extend the back leg long, foot turned to the side at about 45 degrees, firmly rooted, with the knee pointing in the same direction as the foot. Hips should be square to the front, core engaged and arms raised directly above the shoulders.
Your lower body: Because the back leg is in extension, so you will feel a stretch in the front of the hip. The front leg’s lunge will activate the hamstring, and as you push into the inner and outer edges of the foot, you should feel the inner and outer thighs turn on.
Your core: Keeping your torso upright and your hips squared to the front while your legs work asymmetrically will require the engagement of the lower abs and obliques. You should feel a slight twist in the low belly. The area along your ribs should feel elongated.
Your upper body: Shoulders pull down the back while the upper arms engage to stabilize them above your head.
Warrior 2
Where you should feel it: front leg, core.
Your stance: Feet start about twice your shoulder-width apart, front toes and knee facing forward while the back leg extends behind you, foot parallel to the front of your mat and knee pointing in the same direction as the toes. Hips should be square to the side wall (not facing forward), while arms extend forward and back, shoulders square above the hips.
Your lower body: The pelvis is neutral, turned to the side, hip flexors in the front and back legs activated. Weight should feel evenly distributed across the pelvis, and because the front leg is in external rotation, you will engagement in the outer hip and glute, plus a stretch in the inner thigh and groin.
Your core: Activate your lower belly by pulling it into the spine and engage your obliques as you resist torquing your body to the front. Tuck your tailbone under to keep hips and lower back neutral. Engage your upper abs to help support your arms’ extension.
Your upper body: Engage the upper back and shoulders to hold the arms up. You should feel a slight stretch across the shoulder blades and lats, and an extension of your triceps as arms reach forward and back.
Warrior 3
Where you should feel it: Lower body, core, upper body. Says Diana, “This pose should allow you to feel the overall strength of your body because many muscle groups are engaged simultaneously.”
Your stance: Stand on one foot with a micro-bend in the knee. Put your weight on the standing leg and tip forward to bring the other leg straight out behind you, foot off the floor. The upper body tips forward until it is parallel to the floor: arms extend forward so your whole body forms a ‘T’.
Your lower body: Both legs are strong and neutral. You should feel the quad, hip and hamstring engage in your standing leg to support your weight, lengthening upwards to both stretch and strengthen, especially down the back of the leg. Your floating leg should be active from the glute to the toes, with a slight stretch down the back of the leg and an inward rotation of the thigh.
Your core: No surprise here, the core is essential to keeping your elevated torso stable. “The core is deeply engaged, with the lower belly, upper belly and obliques contracting in,” Diana advises. If you’re not engaging your core to keep your spine straight, “you may feel this in your outer hip or your lower back”. If so, pull your lower belly in while rotating hips to the floor: the slight twisting sensation behind your belly button means you’re on track.
Your upper body: Biceps rotate outwards while shoulder blades pull down the back. Engaging your floating upper body as you reach to extend your limbs will help you to maintain the pose without tipping forward.
